

Ice Cream Cake À La Française
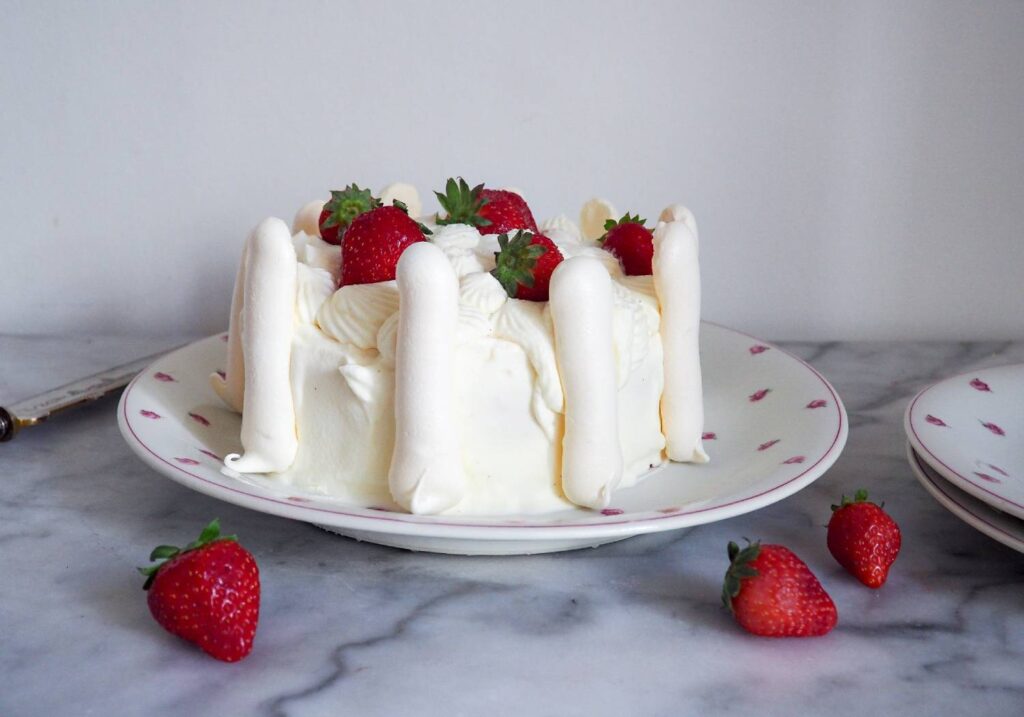
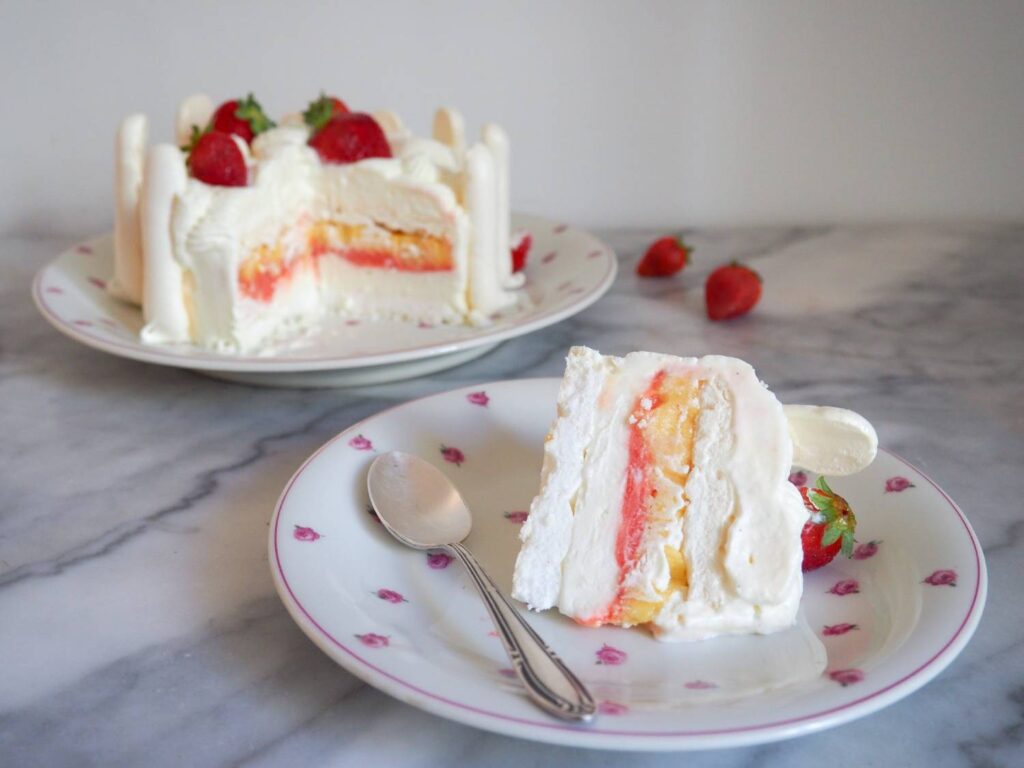
The Frenchman’s birthday was last week and I had far too much fun making not one, but TWO birthday desserts. I’m not sure which was my favorite, but with the heat we’ve been having in Strasbourg, I’m leaning toward the ice cream cake. Called Vacherin in French, it is rather simple, with just three components: ice cream (bien sur!), meringue, and chantilly cream. Two meringue discs sandwich the ice cream or sorbet of your choice, and then the whole cake is iced with chantilly whipped cream to finish it off!
The great thing about this cake is that it can be customized so easily. Pick your favorite ice creams or the favorites of the person you’re making it for, et voila! Sorbets are lovely because it adds a bright fresh flavor to this cake that can sometimes be lost with cream based ice creams. I would recommend a mixture if you really want to include an ice cream, and not all sorbet. I did yogurt ice cream, passion fruit sorbet, and strawberry sorbet. I also noticed that the sorbets will stay frozen a bit longer than the ice cream making it easier to assemble.
You can start the day before by making the meringue and molding the ice cream. I whipped up the meringue late in the evening after the sun went down and then left it in the oven overnight to continue to dry out. By the next afternoon when I got around to putting the cake together, it was perfectly crisp.
To mold the ice cream/sorbet, I used a ring used to assemble entremet cakes, essentially a tall metal ring, open on the top and bottom. A cake pan would work perfectly as well. Or why not do a fun shape like using a bowl? Line the mold you are using with plastic wrap for easier removal and then layer in the ice cream or sorbet.
For the bowl, you could do one circle of meringue on the bottom, cover with whipped cream, and then decorate with more meringue. There’s certainly not one particular way to do this.
To de-mold the ice cream, place in hot water for a couple of seconds. Then test. If it isn’t coming out, place back in the water for a couple more seconds and keep testing, until it comes out. Essentially you are melting a little of the ice cream on the sides so it slips out. I had my ring on a plate and since the plastic wrap was protecting the ice cream, I was able to dip it into the water to where it came up the sides just a bit for a couple of seconds. Put in between the meringue circles, and then back in the freezer! When I did this my kitchen was nearing 80 degrees because of the direction of the sun and lack of AC in our apartment, so it was back and forth quite a few times.One last tip, for the meringue circles, trace the mold you are using on the parchment paper you are going to pipe the meringue on. Flip the parchment paper over, so you still have the line showing through, but it’s not going to come into contact with the batter. I’d recommend going a bit over the line (doesn’t need to be perfect). Or if you can’t be bothered, in true rebel baker style, I’d say just go for it with the circle. Then when you think it’s good, hold up the mold to compare. Again, it doesn’t have to be perfect, you just want to make sure the circle is large enough to fill the mold. Since we can “cut” it to size using the mold we used for the ice cream, it’s ok if it is slightly larger.
When you’re ready to assemble, peel the meringue circles off the parchment, and use the mold to press down and cut them to the right size. I did this by first demolding the ice cream and putting it on a plate in the freezer so my ring was free, and giving it a quick wash and dry.
It might sound like a lot of instructions but really they’re mostly tips that I’ve found to make this cake a bit easier. But really, the base is still the same, combining three delicious things to make one extraordinary dessert. Enjoy!
Ice Cream Cake a la Française
Vacherin, the traditional ice cream cake in France made with just three components: ice cream or sorbet (or a combination of the two), meringue, and chantilly cream.
*See blog posts for tips. The ice cream quantity will vary greatly on the size of your mold. So if in doubt, buy a little extra. If your cream is not whipping add something with a high fat content, like a tablespoon of cream cheese, mascarpone, or creme fraiche.

Ingredients
Ingredients:
- 1 liter total of ice cream, sorbet, or a mixture of the two (about two pints)
Meringue
- 200 g granulated sugar
- 3 egg whites
Chantilly Cream:
- 300 ml heavy whipping cream (minimum of 30% fat)
- 25-50 g powdered sugar
- 1/2 tsp vanilla extract
Instructions
To make the French Meringue:
- Start with the meringue. Preheat your oven to 150*C/300*F.
- In a mixing bowl, add the egg whites and whip with the whisk attachment. When they start to foam, slowly start adding the sugar until a nice meringue forms.
- Transfer to a piping bag with a round tip (or no tip) and pipe two large circles that are slightly larger than the mold you will use to form the ice cream.
- Pipe any additional designs you might like to use to decorate and then bake for 8 minutes at 150C/300F. Then turn down the heat to 90C/200F and continue baking for 2 hours. Turn off the heat and leave in the oven overnight or for several hours to continue to dry out.
To mold the Ice Cream:
- Take your mold, and line it with plastic wrap with an overhang. Layer in the ice cream, one flavor at a time and then freeze to harden into place. It helps to leave the ice cream out for 20-30 minutes to soften before doing this.
To whip the Chantilly Cream:
- For best results, chill your mixing bowl before starting, and make sure the whipping cream is also well chilled. This should be made just before you start to assemble the cake.
- Add all the cream to the bowl and whip using either a hand mixer or the whisk attachment of a stand mixer.
- When you are at soft peak, add the powdered sugar to taste and the vanilla. You don't want it to be too sweet as the meringue and ice cream are already quite sweet in this dessert.
- Beat until medium to stiff peak, watching carefully that you don't overbeat the cream. You'll be able to tell this if the texture changes from being silky smooth to more jagged edges. To correct this, whip in a little bit more cream.
- Refrigerate until ready to assemble.
To Assemble:
- De-mold your ice cream/sorbet by placing it in hot water for a couple of seconds and then pulling on the plastic wrap to lift it out.
- Place on a plate and back in the freezer while you get the other components ready. Wash and dry the mold.
- Peel the circles off the meringue, and then use the mold you had the ice cream in to "cut" the circles to the right size by pressing down.
- Remove the ice cream from the freezer. If it is difficult to remove from the plate, let it stand for a couple of minute, or carefully dip just the bottom of the plate in hot water to release.
- Remove the plastic wrap and place on top of one of the meringue circles. Place the other one on top. Press down carefully. Then freeze for a couple of minutes to set.
- Take your chantilly cream out of the refrigerator and give it a quick brisk whip with a whisk to rewhip it.
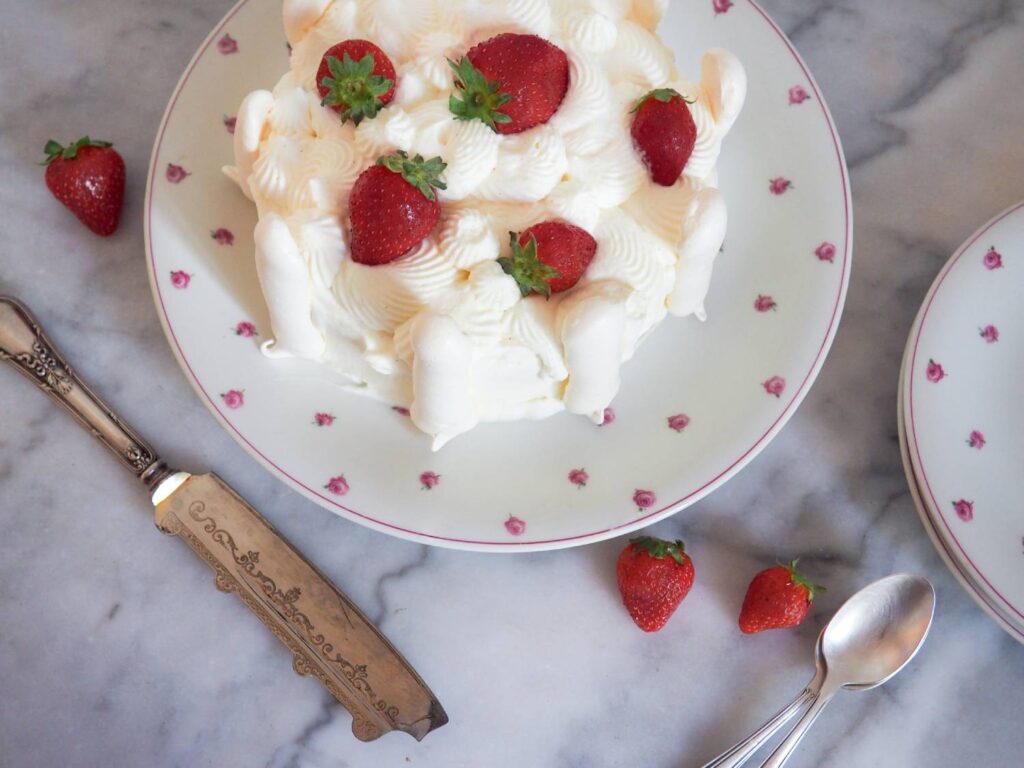
- When ready, take the cake out of the freezer and ice with the cream, and decorate with more meringue pieces if you'd like! Put bake into the freezer until ready to eat.
Notes
The cake will be good for several days in the freezer (if it lasts that long!). The only thing that might happen is that the meringue on the outside softens just a little. Enjoy!YOU MIGHT ALSO LIKE

Bienvenue, I’m Molly!
I am a Pastry graduate of Le Cordon Bleu Paris offering pastry classes in Versailles and around France. Originally from Dallas, Texas, she moved to Paris in 2013 to follow her passion for baking & ended up staying!


Hungry For More?
French Pastry Made Simple
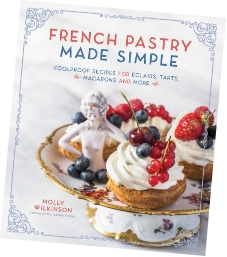
Join me for a fun pastry adventure in the kitchen! I’m so thrilled for you to discover my first cookbook, French Pastry Made Simple.

Gift Cards
Purchase a gift card for you or a loved one!