

Pate Brisee And The All American Pie
This might have been one of my favorite bake alongs to date. Breaking through pie crust barriers!!! I have to admit making pie crust was intimidating for me too up until just a few years ago. Honestly I think the reason why is because there are so many tips out there to try to make it foolproof and easy that instead make it a recipe that is just plain scary to do. What if I don’t follow the right tips? Do I add vodka? Do I not? I want to make the perfect pie crust! And then after all that, we go to the store and buy it because there’s just so much information to weed through and try to figure out. I remember reading a recipe that had me press the dough between two sheets of parchment paper to bring it together so it wasn’t worked too much. What I ended up with was something so crumbly, that it just fell apart to the point where I couldn’t even roll it out.
Much like when I changed during culinary school from cups and teaspoons to use the metric system, learning a basic pate brisee was, hm I won’t say life-changing, but I will say that it lifted all that confusion and hesitation that I’d had for so long when it came to pie crust. Now I make it all the time for quiche. I measure the flour and butter next to the kitchen sink, then I turn the cold water on low and quickly pass the bowl underneath the tap for each addition until it comes together as a dough. Easy, simple, delicious. I think after you see how easy a pie crust can be, you’ll be making it yourself too!

For the filling, we did something that I truly love as well- a “make it your own moment”. Essentially using whatever ingredients are available and in season to create your pie, and then having fun with the spices and herbs. I love cinnamon and nutmeg in my pies, but maybe you like a dash of cardamom, or some fresh thyme. A pie is a beautiful way to savor a season.
Now there’s a lot written below in the recipe, because I specifically want you to know what the texture is supposed to feel like when making this. So don’t get overwhelmed as it is quite simple. And be sure to check out the note about how to Freeze a Pie! YES! It will change your Thanksgivings.
THE VIDEO!
I finally uploaded the saved video from the Live Instagram Broadcast to Youtube!! So turn it on, and bake along!
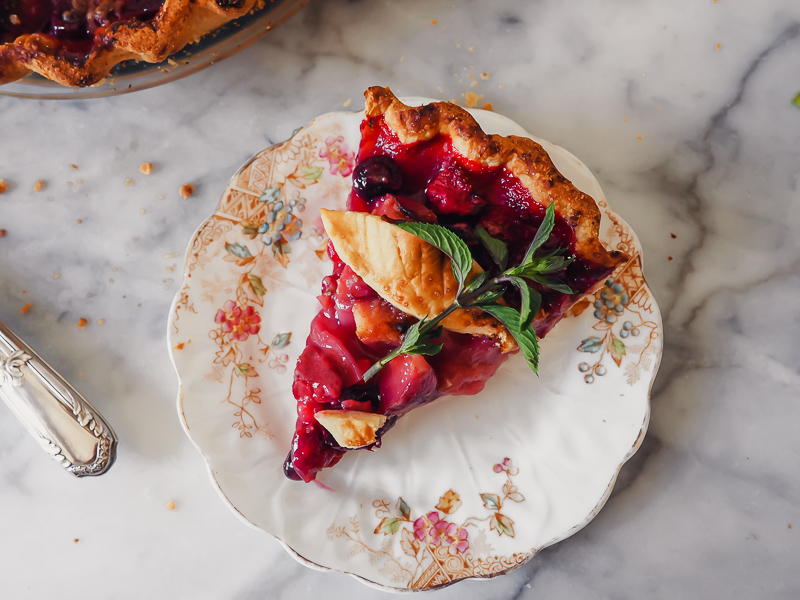
The Always in season Pie
A truly American dessert, mixes with the incredibly simple French style of making a crust: pate brisee. The filling is a masterpiece and the perfect way to stay in season. Buy whatever fruit is in season, obviously thinking about what would be good in a pie (ex. watermelon or melons wouldn’t work but berries, stone fruits, apples, rhubarb, etc, are perfect).
Two other points: You can use frozen fruit, and I’ve even done a mixture of frozen and fresh without any problems.
YOU CAN FREEZE PIE!!! Fruit about to go bad but not really in the mood for pie? Make and bake the pie, then freeze it. I just leave it in the tin, allow to cool completely, and place it in a massive freezer bag. When you’re ready to eat it, defrost overnight in fridge, then place it in the oven for 15-20 minutes at 350F/165C to recrisp it up. This is also a great way to reminisce about summer in winter!
Ingredients
For the pie crust:
- 300g all-purpose flour (2.5 cups)
- 150g unsalted butter (1 stick + 2.5 tbls) cubed, and cold
- pinch of salt
- cold water
For the filling:
- 750g fruit (4-5 cups), fresh or frozen, or a combo of the two
- 45g all purpose flour (1/3 cup)
- 100g granulated sugar (1/2 cup)
- 2tsp cornstarch
- 1 lemon
- Spices of your choice: ginger (fresh or ground), cinnamon, cardamom, fresh thyme, fresh sage, fresh verbena
- dash of whole milk
- turbinado/raw/granulated sugar
Instructions
The pie crust:
- In a medium to large bowl, put the flour and cubed cold butter. (Note: the butter shouldn’t be rock hard, but cold enough that you can press and then see your finger indented in it easily).
- Toss the butter in the flour to coat it and then work it in with your hands, working quickly. The motion I do is what I call “show me the money”. Pick up pieces of flour and butter, then turn your hands over so your palms are up. Press the butter through your fingers using your thumbs.
- Work in the butter until it is pea sized. This won’t take long. Once you have small pieces, stop. It’s super fun to do, but you don’t want to work it so much to where the butter starts melting and then it looks as if its forming a dough.
- Pour in cold water a teaspoon to tablespoon at a time. Tossing the mixture to coat the dry with the wet. Occassionally, squeeze fist sized amounts together to see how it’s holding together. You’ll notice that bigger and bigger clumps will form until you’re able to easily bring it together.
- Note: When you’re close to it coming together, add tiny amount of water. If you add to much water (it feels too wet), add a bit of flour.
- Form into a ball, cover with plastic wrap and let chill for 20-30 minutes.
Make the filling:
- Chop all your fruit into large cubes. Notes: Strawberries will need to be halved or quartered, depending on the size. Blueberries, currants, and blackberries will remain whole. You can peel fruit if you want, or not.
- On top of the fruit, pour in the flour, sugar, cornstarch, any spices or fresh herbs you’re using, and the zest of one lemon. Toss together and add the juice of 1/2 lemon, if you’d like.
Bringing it all together:
- Roll out your dough to where you have enough overhang over your pie dish (you can use a 9″ cake pan too!).
- Place it gently over your dish, adjusting the crust to where it is not stretching over the sides.
- Pour in the filling.
- Finish the crust. For a cake tin, fold the dough over the top of the filling for a beautiful rustic finish. For a pie tin, cut the overhang to where there is a centimeter of dough that stretches past the lip of the tin.
- Fold this over, and press against the lip of the tin, and make the design of your choosing. Press a fork or measuring spoon to make indentions, or do a classic crimp.
- Use extra dough to make designs on the top with lines of dough, cut out shapes, etc.
- Bake at 400F/200C for 35 minutes in the bottom third of your oven. Then move it to the center of the oven and bake for another 15-20 minutes. Note that you can use convection, it will just cook faster, so keep an eye on it.
- Let cool several hours before eating. If you’d like to freeze the pie, let cool completely, and place in a big freezer bag. When you’re ready to eat, let it defrost in the fridge overnight, then place it in the oven for 15-20 minutes at 165C/350F to recrisp it.
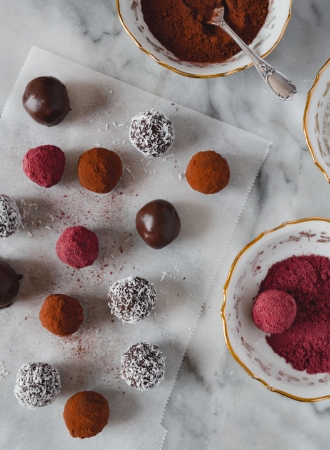
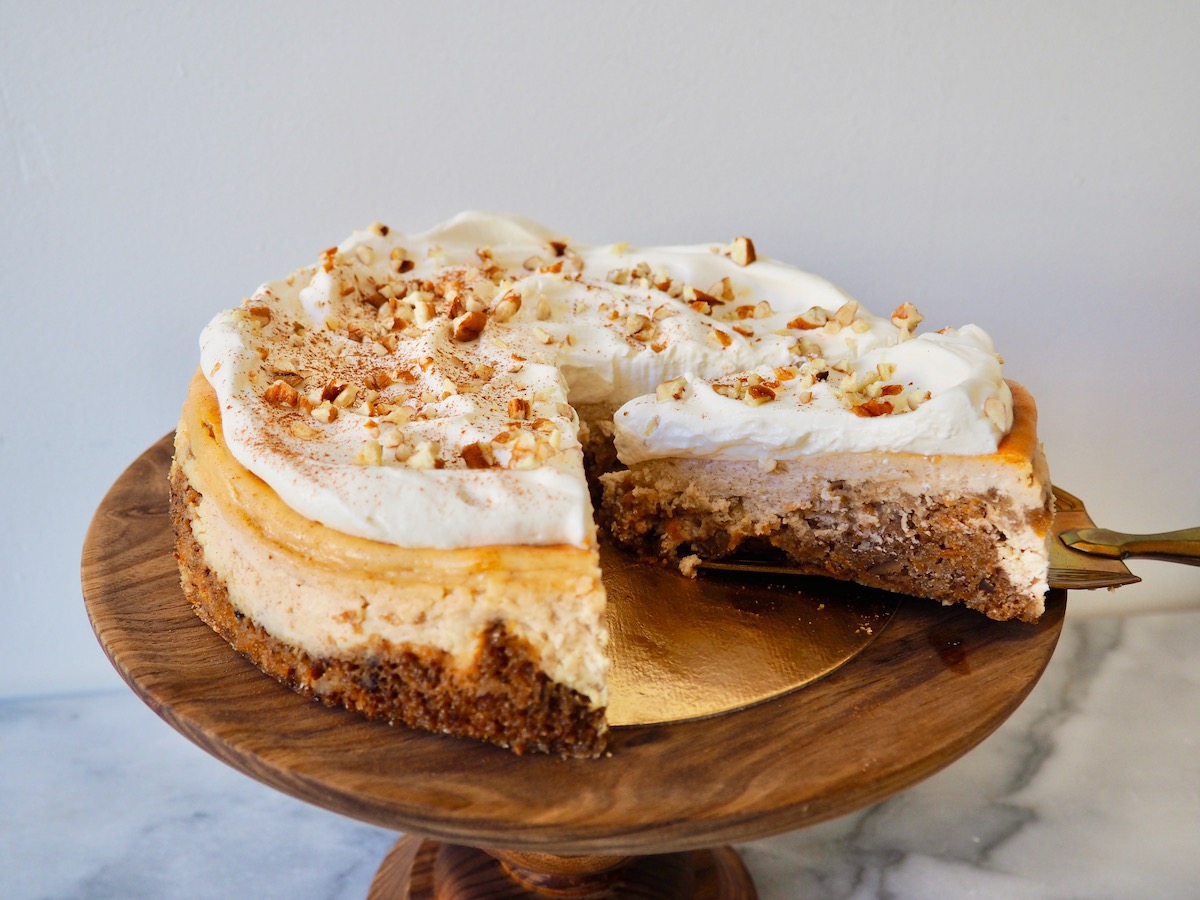
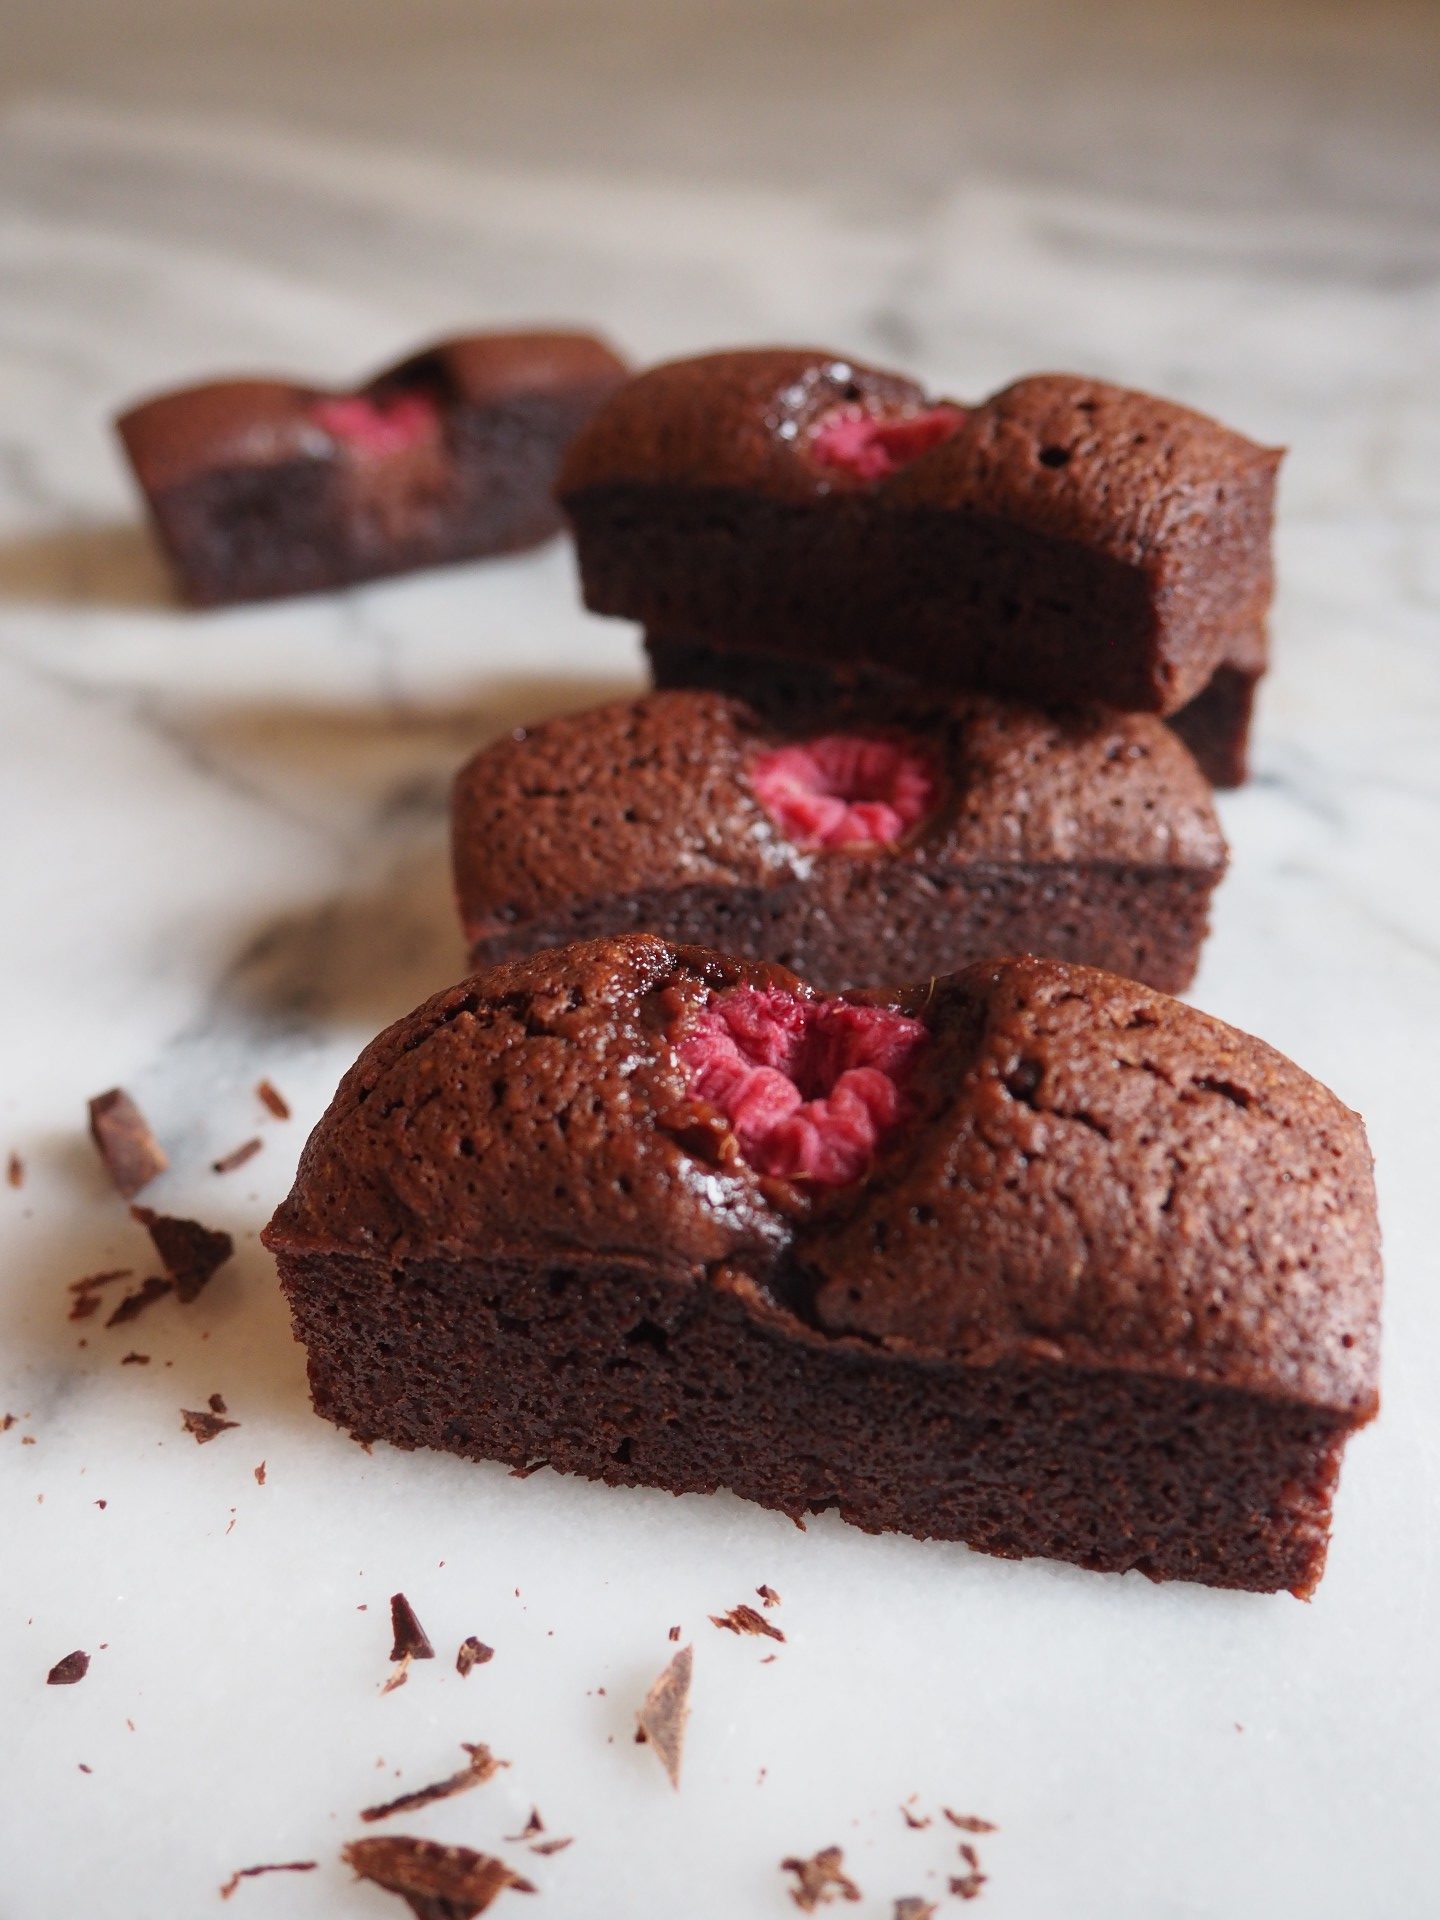
You Might Also Like

Bienvenue, I’m Molly!
I am a Pastry graduate of Le Cordon Bleu Paris offering pastry classes in Versailles and around France. Originally from Dallas, Texas, she moved to Paris in 2013 to follow her passion for baking & ended up staying!


Hungry For More?
French Pastry Made Simple
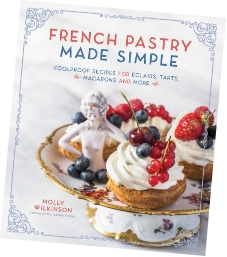
Join me for a fun pastry adventure in the kitchen! I’m so thrilled for you to discover my first cookbook, French Pastry Made Simple.

Gift Cards
Purchase a gift card for you or a loved one!